
My shop or other pages header and footer doesn't match the home page
Our page builder comes with the ability to set different headers and footers on different pages. This is a feature that designers will love but it can make it a little complicated for the beginner.
If you have inserted a layout, they usually come with a header and footer to match the layout and the website will not know (unless you tell it) to use this header and footer on all your pages.
Step 1: Make the header and footer global
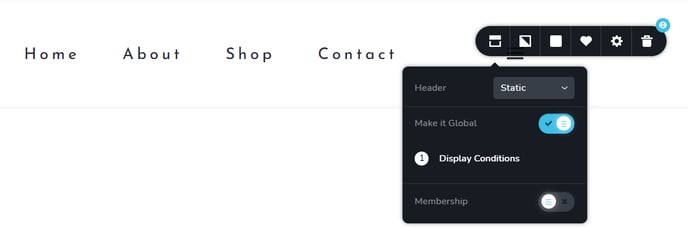
Once you're happy with the layout of your header and footer, click on the black circle on your block top right.

Then click on the box icon to the left and select the "Make it Global" setting to activate it.
Next, you can set the display conditions. Do you want it to appear on all pages on only certain pages? You can play around with the settings.
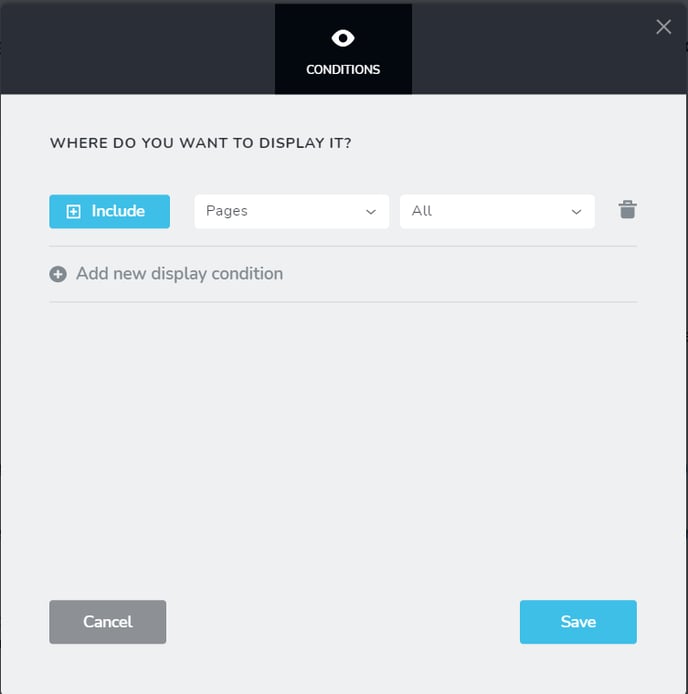
If you have created andy Page Builder Templates, you will see that it adds a new display condition for each of the page builder templates. The "Brizy Templates - All" setting is currently not working.
This is where it starts to get tricky so let's explain the difference between Pages and Brizy Templates.
- Pages are found in the Pages Menu. You can edit them individually and change their design as you wish. They are generally content-filled.
- Brizy Templates are found in the Page Builder>Templates Menu. Your shop pages like the Shop Page, My Account Page, Product Pages, and Product Category pages are editable here. They are filled with functionality as opposed to content since they grab information from WooCommerce (your shopping cart) whenever they display the page. They generally adopt the default WooCommerce / WordPress menu so we went ahead and created some Brizy templates for you so that you can easily edit the way they look without altering their functionality.
If they are not displaying correctly after the above edits were done on the global settings, then to apply your header and footer on these pages, simply insert them into each of the page builder templates and remove the existing ones.
Apply the Header and Footer to Shop Pages
Go to Page Builder > Templates
- One by one edit each one with the page builder
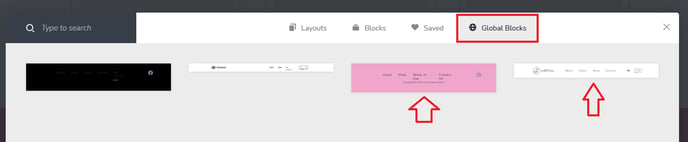
- Click on the blue plus sign at the bottom of the page to insert a new block

- Insert the header and footer and then re-order the blocks to appear at the top and bottom of your page/template.
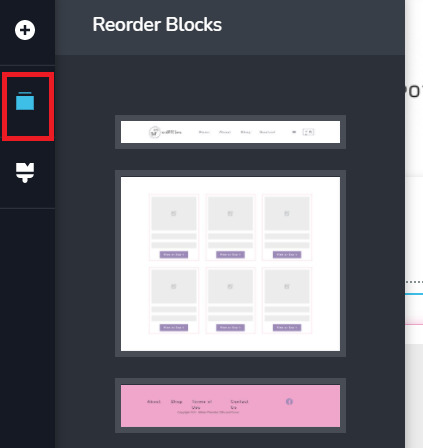
You may also have to delete any previous headers or footers from these templates otherwise you will see the old and the new ones.
If you see a cart icon on the header on your shop pages but not on the Home page or other pages, you can simply add the cart icon to your global header.
Add a Cart Icon to Your Header
Go to elements and search for cart. Drag and drop the cart icon into the header where you want it. You can move items around on the header to make it fit.

Make sure that you are editing the global header so that it will change automatically on all the pages where the global header has been added.
For a video tutorial on this: