Integrate your website with a shipping platform, allowing customers to get accurate prices for the shipping of their goods, upfront.
First, you'll need to decide which of our shipping partner platforms you would like to use and then create an account with each of them.
If you have another shipping partner that has a WooCommerce plugin, please contact us to add this for you.
Once you have set up an account, you can then go to the Apps (Plugins) area of your website and search for and install the relevant shipping plugin/s.
Once installed, they will appear under Store Management- Settings - Shipping Zones/ Shipping Options / Shipping Classes or as a menu on their own
1. Aramex
An Aramex Global Settings menu will appear once the plugin is installed.
- Go to Store Management - Settings - Shipping Settings
- Follow the on-screen prompts to complete the setup
2. Colivery
In the general settings in WooCommerce.
- Select No location by default in the Default customer location. The MDS Plugin does not work with geolocation.

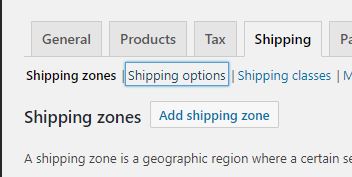
In the Shipping tab select Shipping Options.
- Please make sure the Enable the shipping calculator on the basket page is disabled.
- You can also select the Hide shipping costs until an address is entered setting which assist any confusion if the shoppers address does not match any zones created.

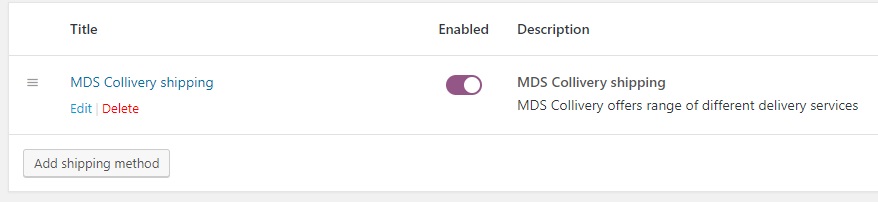
MDS Collivery Shipping configuration
Navigate to the MDS Collivery shipping plugin page. WooCommerce - > Settings.
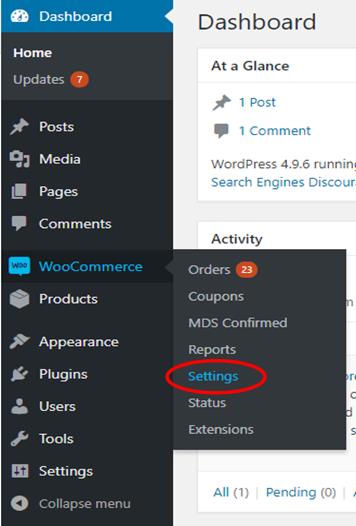
Click on Shipping, then just below where you clicked on Shipping click on MDS Collivery shipping (Please don’t click on the one in the zones, we’ll get to those settings just now).

Here is where the main configuration of the plugin is set
Before you get worried the different services are set in the zones which are further below but do not skip ahead yet.
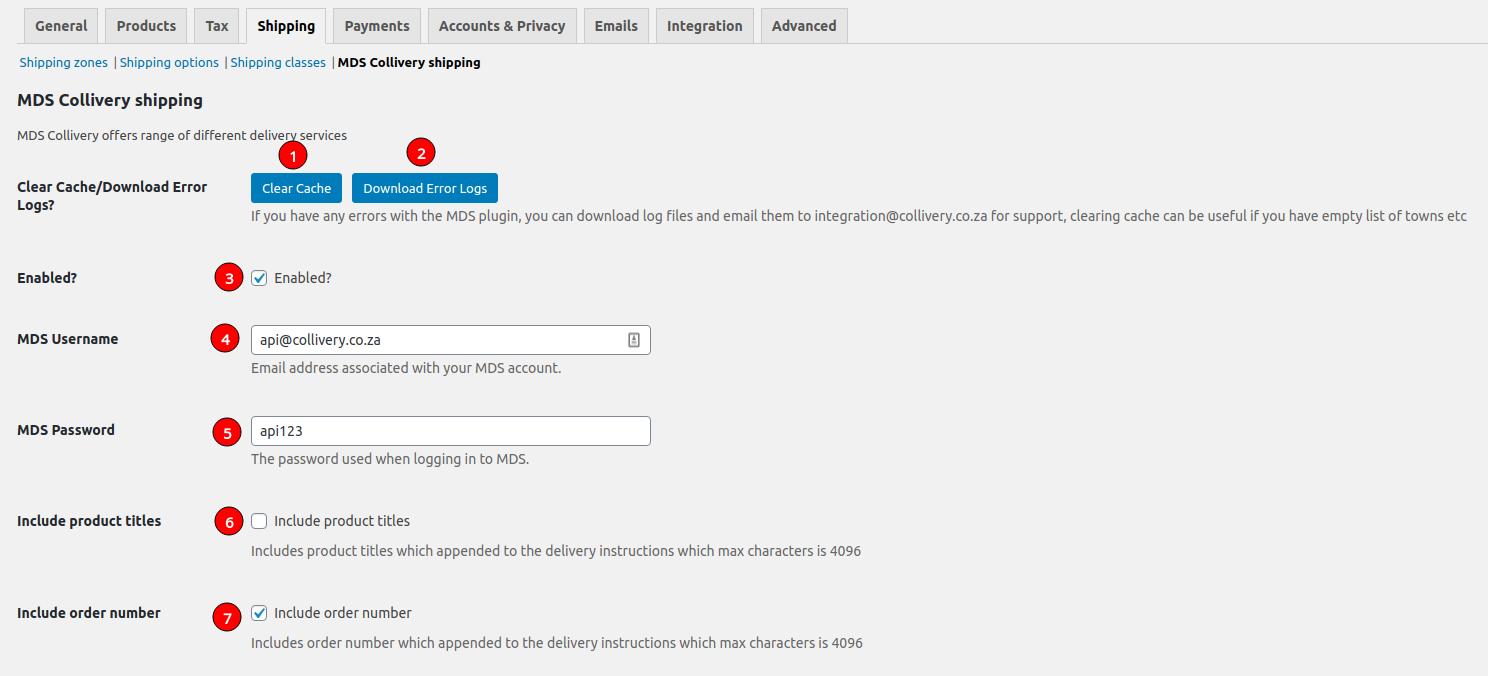
- Is used when you are having issues with the plugin, perhaps there have been price changes or new cities or suburbs loaded onto the system and you would like to retrieve them.
- When you are having issues with the plugin please download error logs and email them to integration@collivery.co.za.
- Enable or disable the plugin.
- Your MDS Collivery user name, it is strongly recommended that you create an alias for the user who is in charge of the shop perhaps online@yourdomain.co.za or shop@yourdomain.co.za this will allow you to easily identify which waybills were created by your store and those by a human logging into Collivery.net.
- Your password associated with the username in (4).
- If you would like the description of the products to be added to the special instructions of the waybill so they appear when the waybill is printed.
- If you would like the order number to be added to the special instructions of the waybill so they appear when the waybill is printed as well.
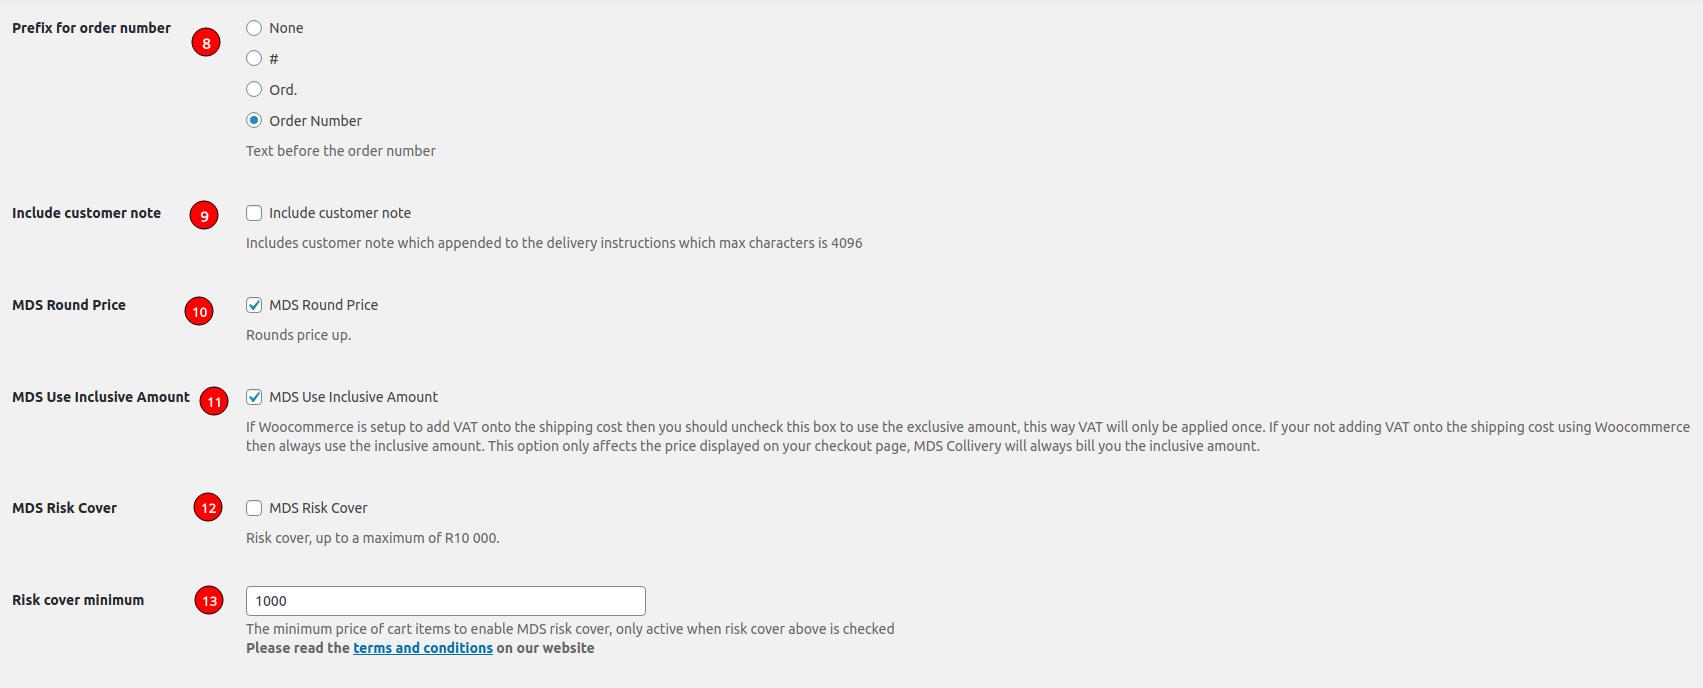
- The suffix of the order number if present
- If you would like the customer's notes to be added to the special instructions of the waybill so they appear when the waybill is printed as well.
- Round Up the shipping cost, so instead of the shipping cost being R123.43 it will be R124
- If Woocommerce is setup to add VAT onto the shipping cost then you should uncheck this box to use the exclusive amount, this way VAT will only be applied once. If you are not adding VAT onto the shipping cost using Woocommerce then always use the inclusive amount. This option only affects the price displayed on your checkout page, MDS Collivery will always bill you the inclusive amount.
- Include MDS Risk Cover with each order
- By default MDS covers the up to R1000 on each waybill that does not have risk cover enabled. Please also bear in mind that MDS will on completion of a successful claim pay back the cost of an item, so perhaps your cart amount needs to be R1250 if your mark-up on your goods is 25%
Please note there are some exclusions to risk cover as detailed in our Terms and Conditions

- Exclude non-deliverable items from shipping calculation such as Virtual
- Exclude non-deliverable items from shipping calculation such as Downloadable
- Free delivery mode (explained below)
- If you would like the waybill to be automatically generated when a order goes into the Processing status
- If you would like waybills added to be accepted, so if you have (17) enabled and/or (18) disabled you can technically never need to log into your Wordpress site to action waybills, they will always bee added to our system and you can log into Collivery.net to accept once you are ready for the collection to take place
Free Shipping configuration
There are three options available for you to add more functionality to your shipping settings, free delivery mode.
- No free deliveries

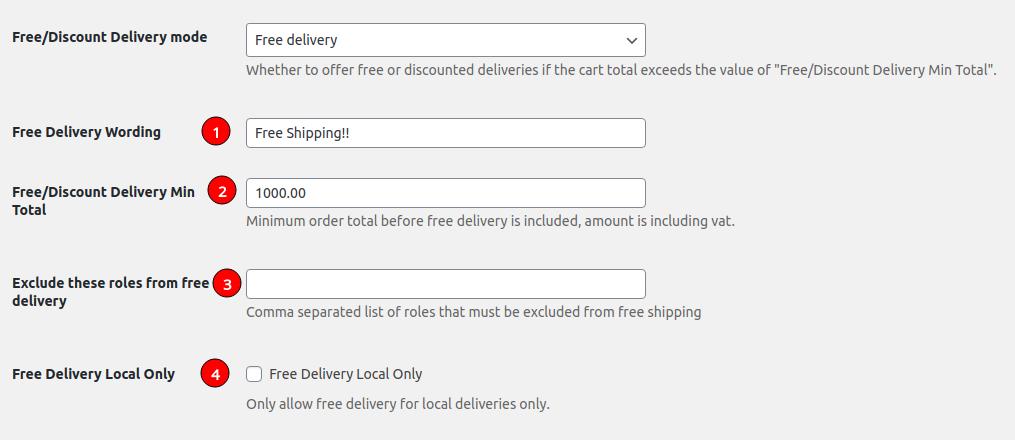
- Free delivery
-
- The Wording on checkout that will display
- The minimum cart amount needed for free shipping to apply
- Any roles where free shipping will not apply
- Enable if you would only like free shipping to apply to local deliveries
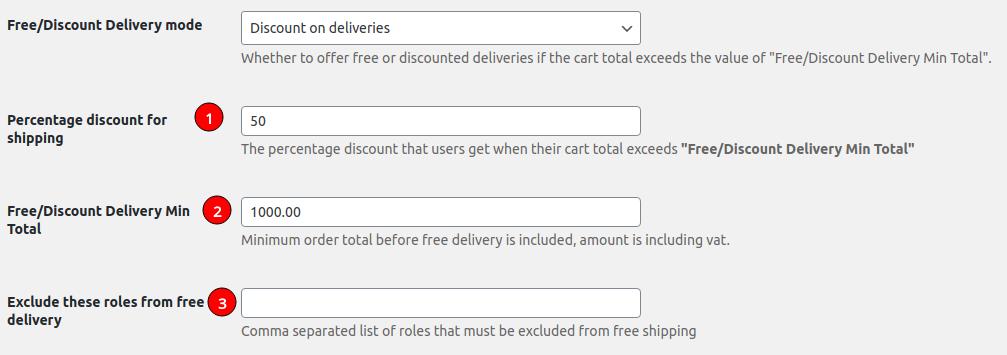
- Discounted delivery fee
-
- The percentage discount you would like to apply to the shipping
- The minimum amount of the cart before discount is applied
- Any roles where discounted shipping will not apply
Setting up Zones
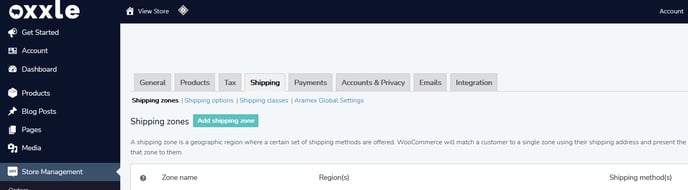
Navigate to Shipping Zones. WooCommerce -> Settings - > Shipping

Click on 
Give the zone a name, then select a region for the zone.
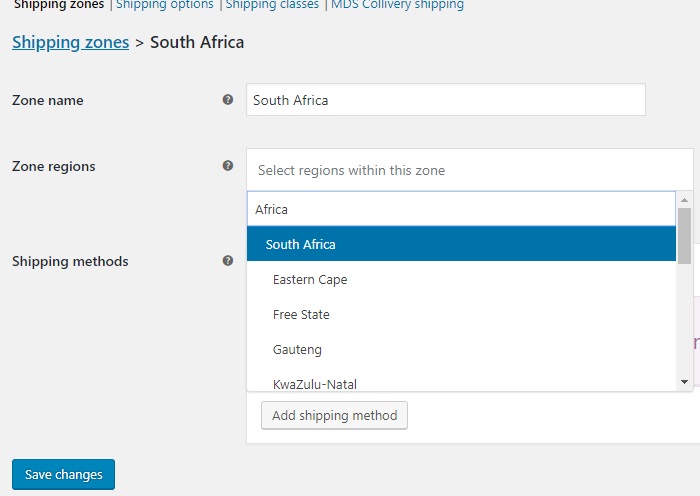
- The recommended procedure is to add one zone for the whole of the South Africa Region, you can however add multiple zones for which there maybe different regions and in each of those regions you can apply different settings. However we strongly recommend on first configuration to only have one zone. When the plugin is working you can come back and split up the zones if you would only like to apply certain services to certain zones.
- You can NOW also add non South African zones however waybills will not be generated
The service's fixed rate for that zone will be used as the shipping cost so make sure its correct for that zone
Once you have selected the region click on  and select MDS Collivery Shipping and then on
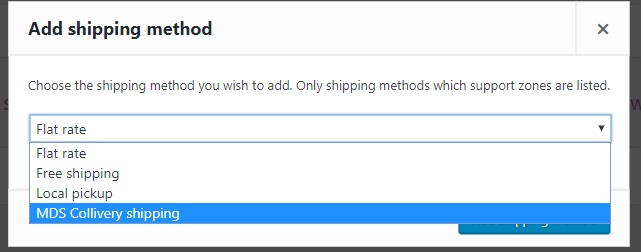
Now that the MDS Collivery shipping method has been added to the zone you can now edit it.
In the settings of the zone instance of MDS Collivery shipping you can:
Options 1,2,3,4 are repeated for each service 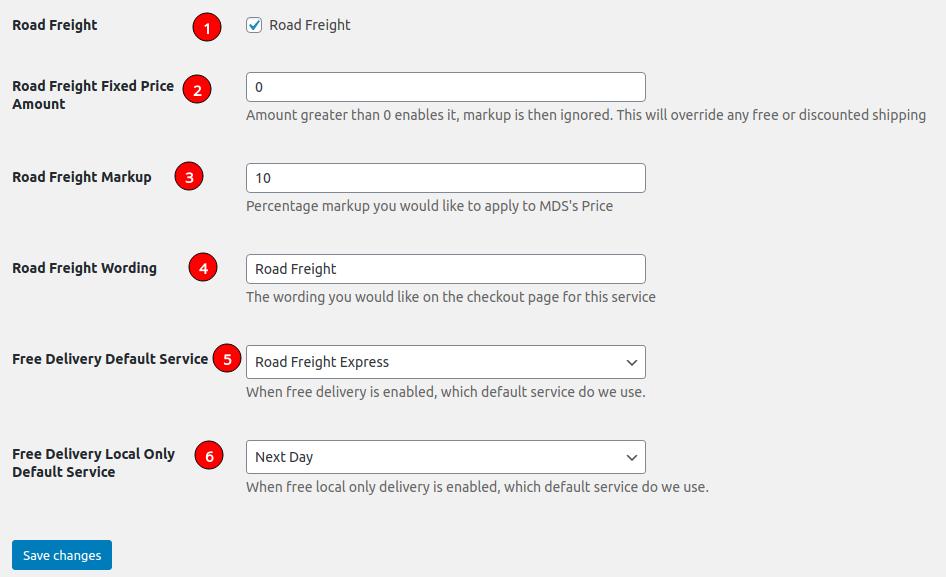
- Enable or disable services
- The fixed amount for this service should you wish not to display the actual shipping costs
- Change the percentage mark-up on the shipping costs (this has been put in place to add safe guard if the dimensions sent to MDS Collivery are not the same as the physical shipment, once your shopper has checked you may find it difficult to recoup price changes and it also adds an extra income).
- Change the wording that will appear on the checkout page next to the shipping cost.
- Select the service that will be used on Free shipping.
- Select the service that will be used on Free shipping when it is free local only.
With the ability of using zones, you can have different settings for different areas.
Usage Examples
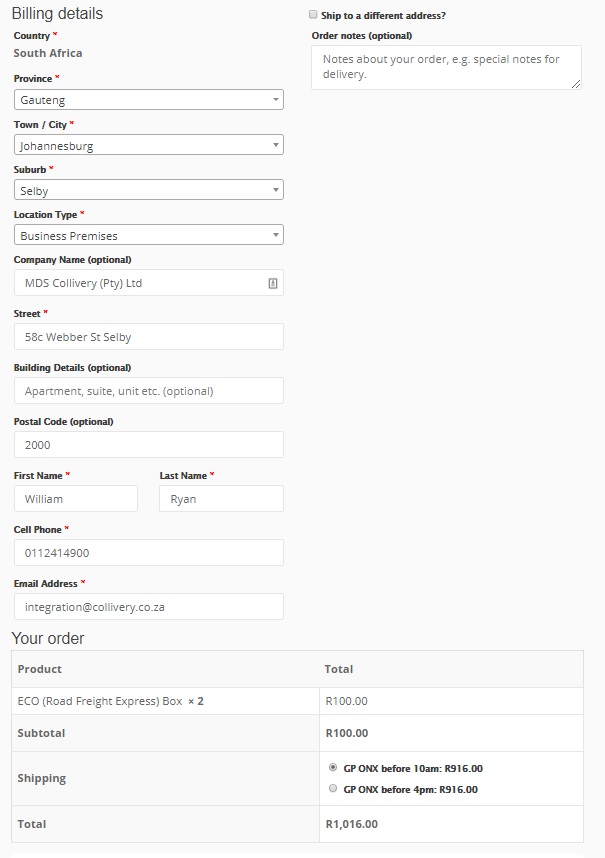
Shop Integration (Client)
Once your shopper has filled in the address details the shipping prices will display below, depending in which zone the shopper falls in they will be priced accordingly.
Shop Integration (Admin interface)
Once your shopper has placed the order the order will be available to process in your backend. With automated waybill processing, waybills are processed when an order goes into “Processing” this usually occurs when the payment has been received. If you have automated processing enabled and your order goes into processing it will generate and MDS Collivery waybill. If you also have Auto accept enabled the waybill will also be accepted and we will then dispatch a driver to collect. If you do not have auto accept enabled, you will need to log into your Collivery.net overview to accept the waybill.
If an order is On hold and you have automated processing enabled and you are ready for collection you can change the status to processing and it will generate a waybill and if auto accepted they waybill will be accepted.
If you have not enabled automated processing:
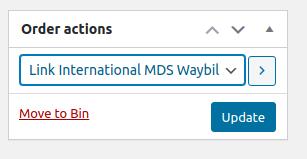
- Open the order, in the order actions select the action Confirm MDS Shipping and click update or

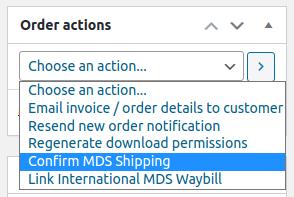
- You will then be taken to a page where you can review the details of the waybill.
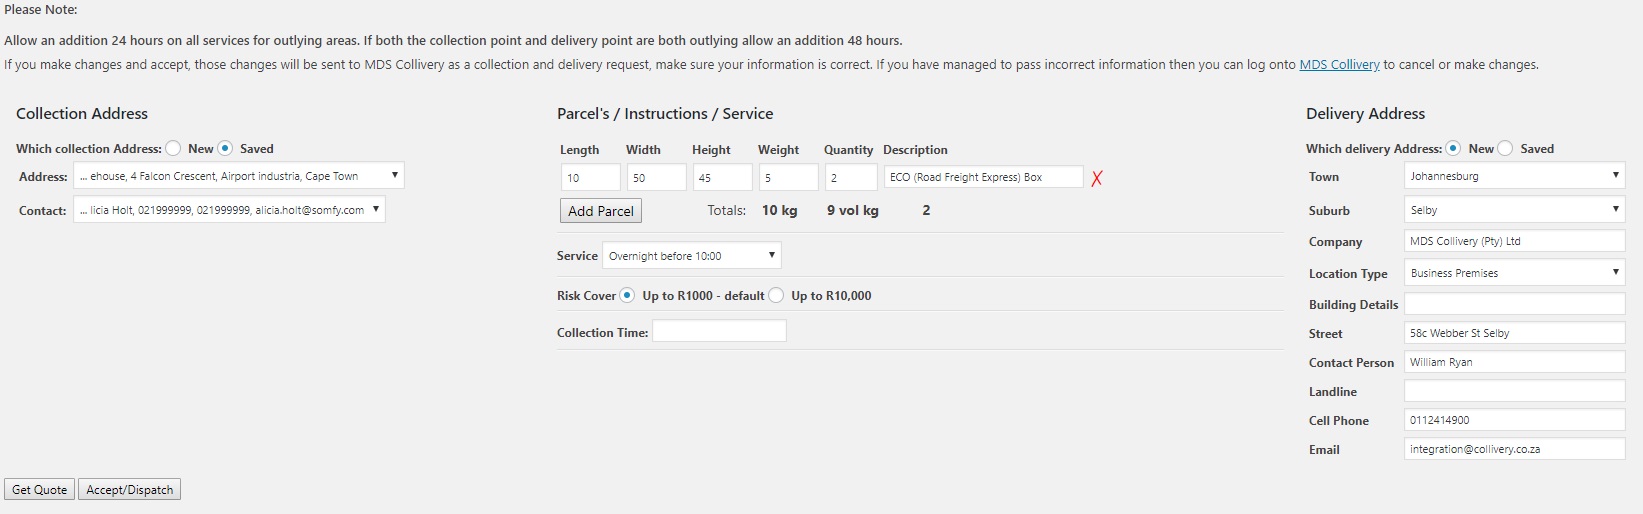
- Click Get Quote to see the pricing and/or Accept/Dispatch to generate a waybill.

- To view your history of waybills go to WooCommerce > MDS Confirmed.
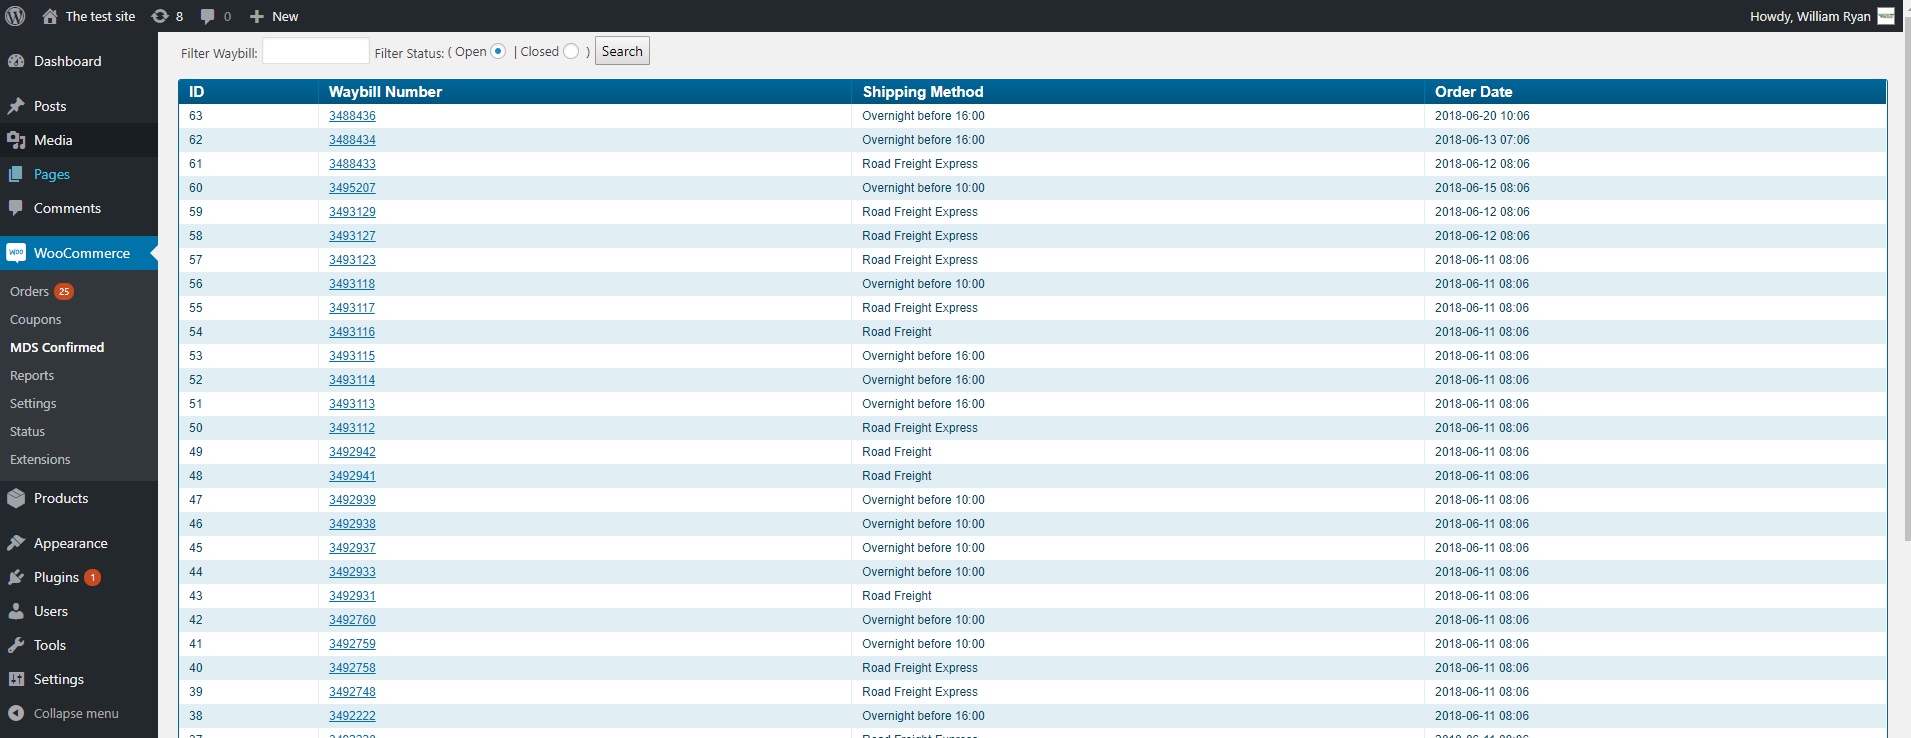
- Click on a waybill to view the details, open waybill pdf and POD pdf (when POD is available).
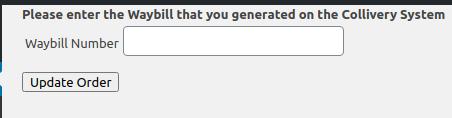
- To Link an already generated waybill to the order, usually from international orders. Type in the waybill number to link
If you encounter any issue please do not hesitate to email us integration@collivery.co.za. If possible please attach your error logs from the Download Error Logs button in the MDS Collivery Shipping main config.
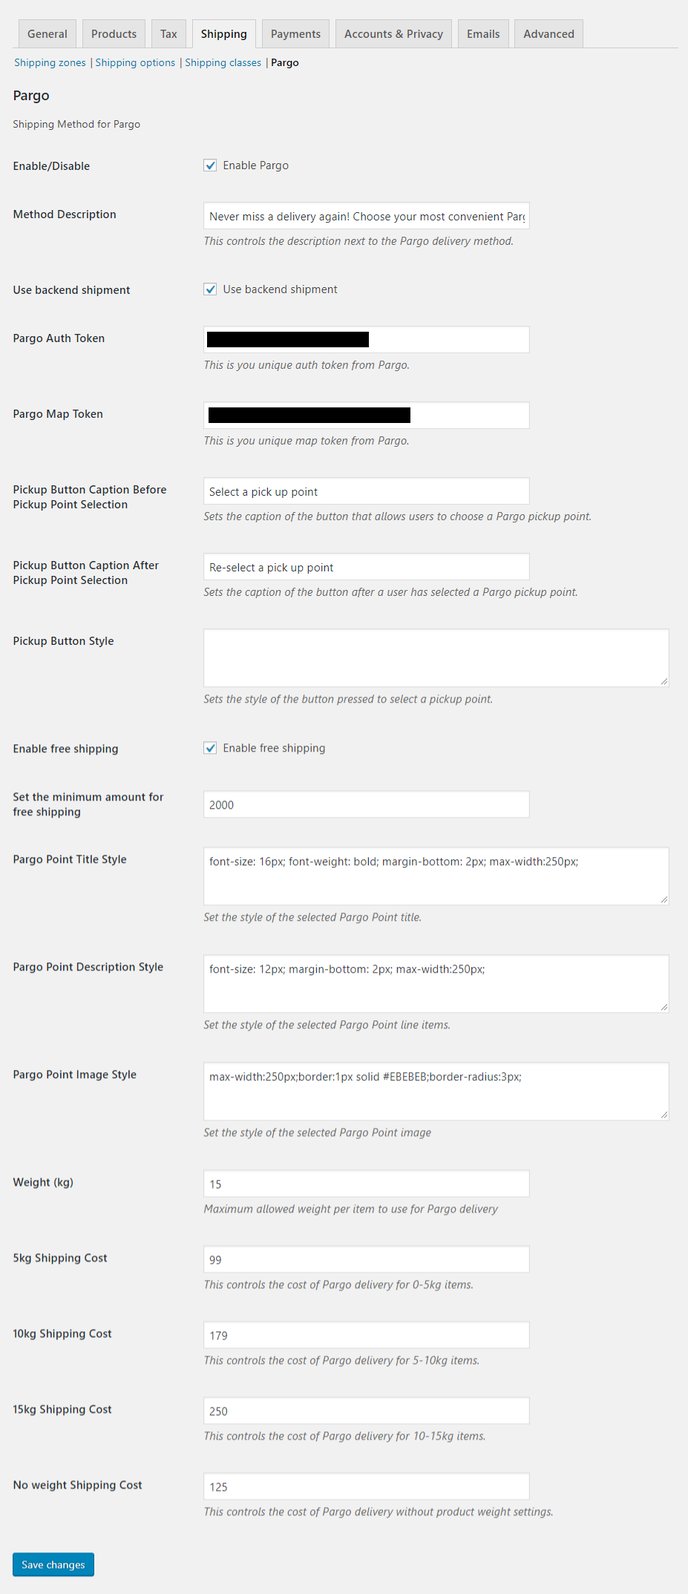
3. Pargo
A Pargo menu will appear once the plugin is installed.
- Go to Store Management - Settings - Shipping Settings
- Follow the on-screen prompts to complete the setup
3. Pargo
Once installed, the Pargo menu will appear once the plugin is installed.
- Go to Store Management - Settings - Shipping Settings
- Follow the on-screen prompts to complete the setup
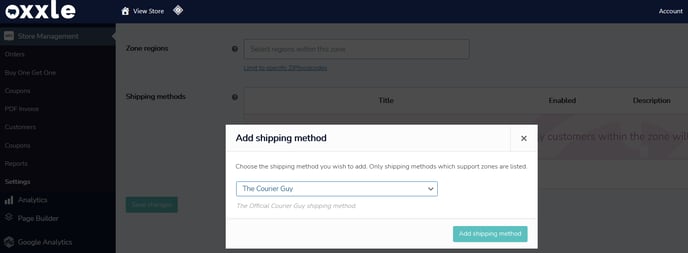
4. The Courier Guy
To access the settings for The Courier Guy
- Go to Store Management - Settings - Shipping Settings
- Shipping Zones - Add Shipping Method and select The Courier Guy from the dropdown list